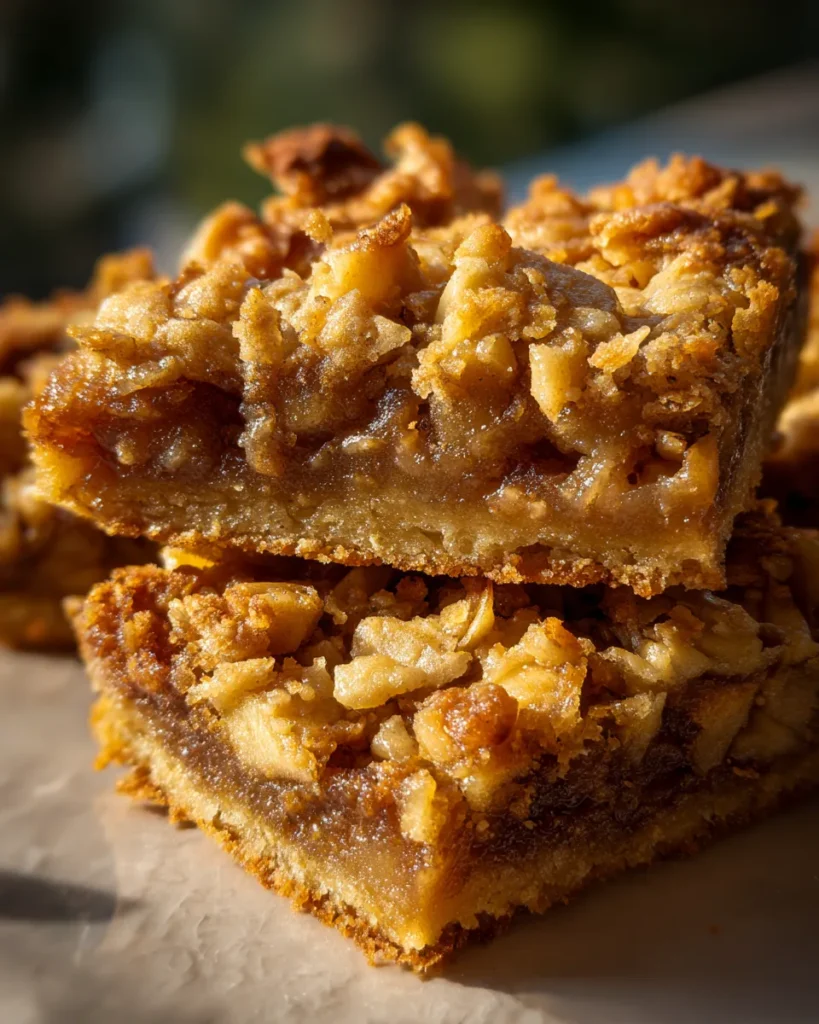
If you’re craving something sweet but don’t want to spend hours in the kitchen, easy apple bars are your new best friend. I didn’t always bake much beyond cookies, but once I tried this recipe, it became a staple. It balances the warm, comforting flavor of apples with a tender, golden crust that’s honestly addictive. The best part? It’s quick and forgiving, perfect if you want dessert fast or need a homemade gift on short notice.
Over the years, I’ve refined this recipe to keep it straightforward while keeping that fresh apple taste that reminds me of fall afternoons in my grandma’s kitchen. You’ll enjoy the mix of soft apple pieces and just-sweet-enough brown sugar, with cinnamon tying it all together. Let me walk you through the ingredients and the steps to make your own batch of easy apple bars that turn out great every time.
Ingredients You’ll Need for Easy Apple Bars
Make sure your ingredients are clear and ready since it makes the whole process smoother. Here’s what you’ll need – note the specific forms and quantities so you don’t have to guess:
- 2 to 3 medium-sized apples, peeled, cored, and chopped into small bite-sized pieces
- 1 cup packed light brown sugar (not loosely piled – pack it tight for that perfect sweetness)
- 2 large eggs, at room temperature
- 1 cup all-purpose flour, measured accurately with a spoon and leveled off with a knife
- 1 teaspoon baking powder
- 1/2 teaspoon ground cinnamon – fresh ground if you can get it for best flavor
- 1/4 teaspoon salt
- 1/2 cup unsalted butter, melted and slightly cooled (not hot, or you’ll scramble the eggs)
- 1 teaspoon pure vanilla extract
- Optional: 1/4 cup chopped walnuts or pecans if you like some crunch
Having these ready and prepping your apples first helps you breeze through the recipe without scrambling. Trust me, a little prep upfront means you stay relaxed and enjoy baking.
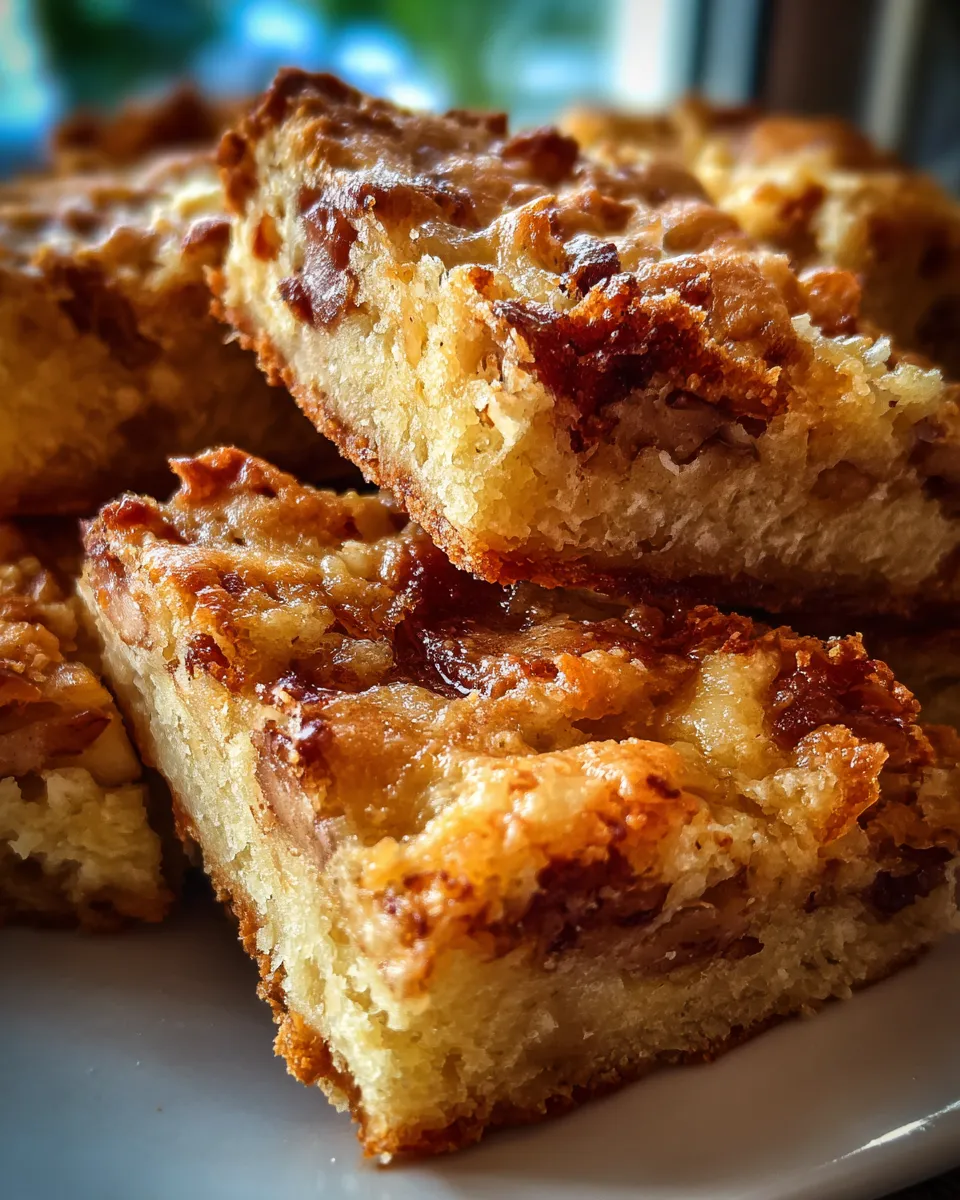
Easy Apple Bars With 5 Irresistible Layers of Flavor
Easy Apple Bars with 5 layers of flavor that satisfy your sweet tooth and bring comfort in every bite Try this simple delicious treat now
- Prep Time: 10 minutes
- Cook Time: 40 minutes
- Total Time: 50 minutes
- Yield: 16 bars
- Category: Dessert
- Cuisine: American
Ingredients
Instructions
Notes
Easy apple bars offer a quick, comforting dessert with tender apple pieces and a golden crust. Perfect for fast prep and delicious snacks or gifts.
How to Prepare Easy Apple Bars Step-by-Step
I’m going to guide you through this recipe like I’m right there next to you in the kitchen – step by step, no rushing, no guesswork.
Start with the Apples and Dry Mix
Once you’ve chopped the apples into small, uniform pieces, put them aside. In a medium bowl, whisk together the flour, baking powder, cinnamon, and salt. I like to whisk so everything feels light and well combined.
Mix the Wet Ingredients
In a large bowl, beat the eggs first with a fork or whisk. Then pour in the melted butter (make sure it’s not hot because it can cook the eggs) along with the brown sugar and vanilla. Stir gently until the sugar dissolves a bit and the mixture looks smooth.
Combine All
Add the dry mixture to the wet ingredients gradually, folding them together just until you don’t see any streaks of flour. Overmixing can make the bars tough, so fold gently.
Next, fold in the chopped apples and nuts if you’re using them. You want everything coated but not mashed.
Prepare Your Pan and Bake
Use a 9×9 inch square baking pan. I like to grease it with butter or line it with parchment paper for easy lifting later. Spread your batter evenly in the pan, smoothing the top with a spatula.
Pop it into a preheated oven at 350°F (175°C) and bake for about 35-40 minutes. The bars are done when a toothpick inserted in the center comes out clean or with just a few moist crumbs. You’ll smell those apples and cinnamon as it bakes, and it’s pure comfort.
Cooling and Cutting
Once out of the oven, let the bars cool in the pan on a wire rack for at least 20 minutes. This resting time helps them set and makes cutting clean pieces easier. You’ll want to slice into bars about 2 inches wide for the perfect serving size.
If you try to cut them warm, they’ll fall apart on you – patience really pays off here!
Why You’ll Love This Easy Apple Bars Recipe
- Quick preparation – under 10 minutes to mix
- Tender, moist texture with soft apple pieces in every bite
- Simple ingredients you probably already have at home
- Flexible – add nuts or leave plain to suit your taste
- Perfect for snacks, dessert, or to bring to gatherings
- Easy to store and reheat without losing flavor or moisture
These bars are a go-to when I want something homemade but not complicated, and I bet they’ll become one of your favorites too.
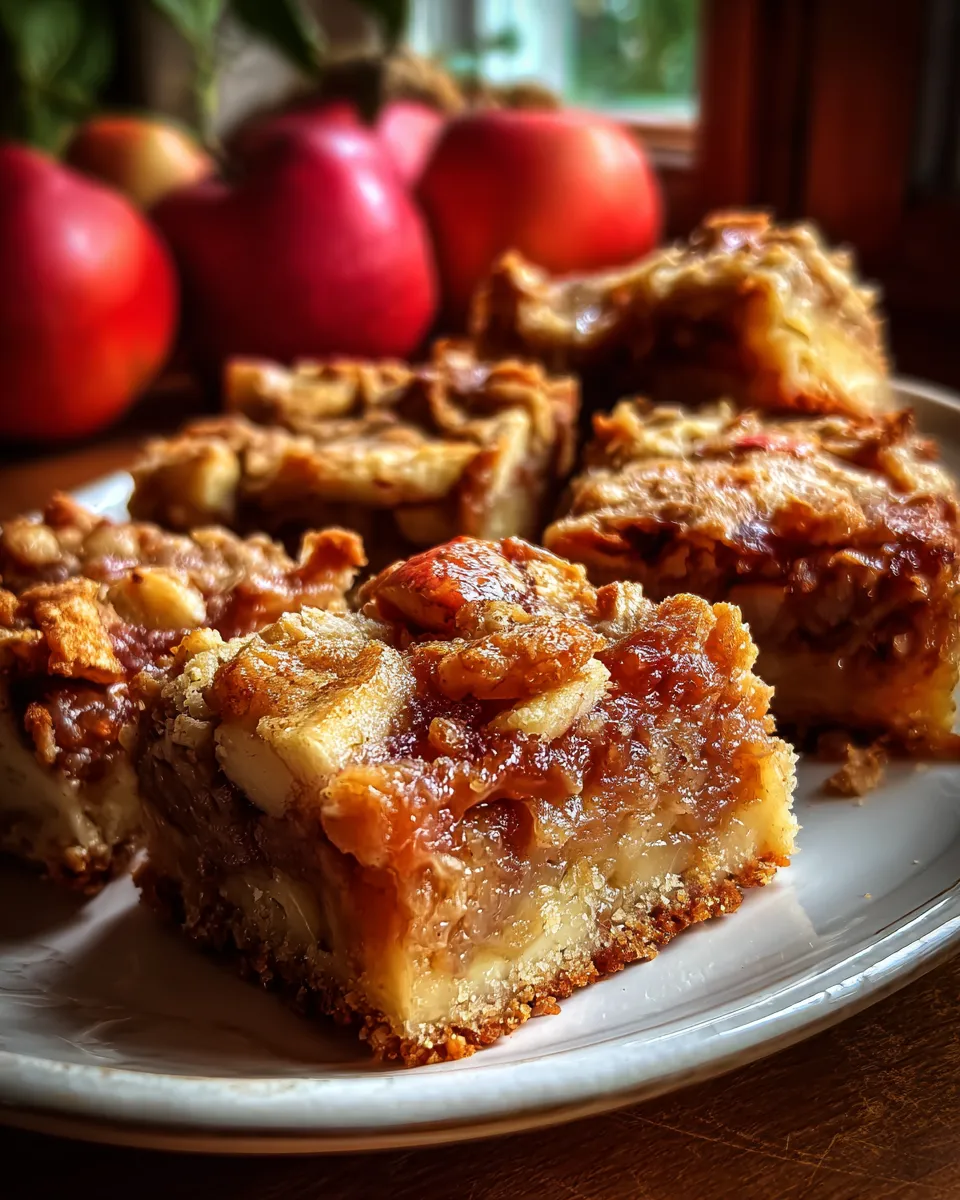
Tips for Success with Easy Apple Bars
- Use tart apples like Granny Smith for a nice balance to the sweetness
- Keep apples chopped roughly the same size to bake evenly
- Measure flour and brown sugar carefully for consistent results
- Don’t skip letting the bars cool fully before cutting
- If you want crispier edges, bake an extra 3-5 minutes but watch closely to prevent burning
These little pointers help you get perfect bars every time without fuss.
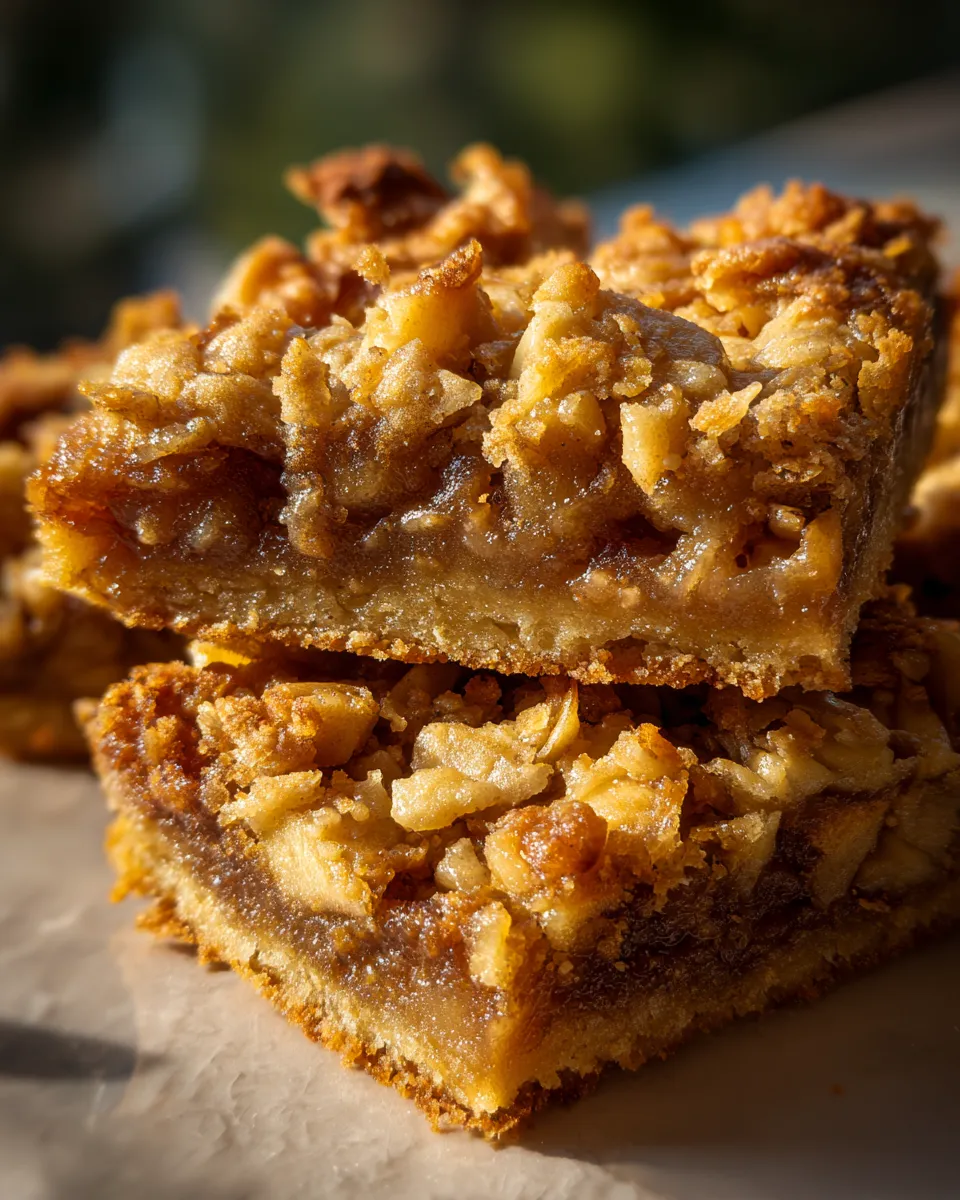
Storage & Reheating Instructions for Easy Apple Bars
You’ll want to store your apple bars in an airtight container at room temperature for up to 3 days. The bars stay moist, and the flavors blend beautifully.
For longer storage, keep them in the fridge for about a week or freeze wrapped tightly for up to 3 months. When you’re ready to eat, thaw them overnight in the fridge or on the counter for a couple of hours.
To reheat, pop a bar in the microwave for 15-20 seconds or warm it in a 300°F oven for 10 minutes. You get that fresh-baked warmth back, perfect with a little butter or cream cheese spread.
Nutritional Information Disclaimer
Nutrition varies based on the exact ingredients you use and their brands, so precise information isn’t provided here. If you need details like calories, fat, protein, and carbs, I recommend using a nutrition calculator with your specific brands and portions. This recipe includes natural sugars from apples and brown sugar, plus butter, so enjoy these bars as a treat or dessert.
Frequently Asked Questions About Easy Apple Bars
Can I use frozen apples for this recipe?
Fresh apples are best because they hold their texture better when baked. Frozen apples release extra water, which can make the bars soggy. If you use frozen, thaw and drain them well before adding to the batter.
How do I make these bars dairy-free?
Swap the butter for a dairy-free alternative like coconut oil or a plant-based margarine with a neutral flavor. Melt it the same way and follow the recipe as usual.
Can I add other spices besides cinnamon?
Definitely! A pinch of nutmeg, ginger, or allspice can deepen the flavor. Keep the total spice amount around 1 teaspoon so it doesn’t overpower the apple taste.
What pan size works best for easy apple bars?
A 9×9 inch square pan is ideal for evenly baking these bars, giving you the perfect thickness and texture. Using a larger pan will make bars thinner and slightly crisper, while smaller pans will make thicker, softer bars but need longer bake time.
How do I know when the apple bars are done baking?
The best test is the toothpick check – insert one in the center, and it should come out clean or with a few moist crumbs. You’ll also see the edges pull slightly away from the pan. The smell of baked apples and cinnamon is another great indicator.