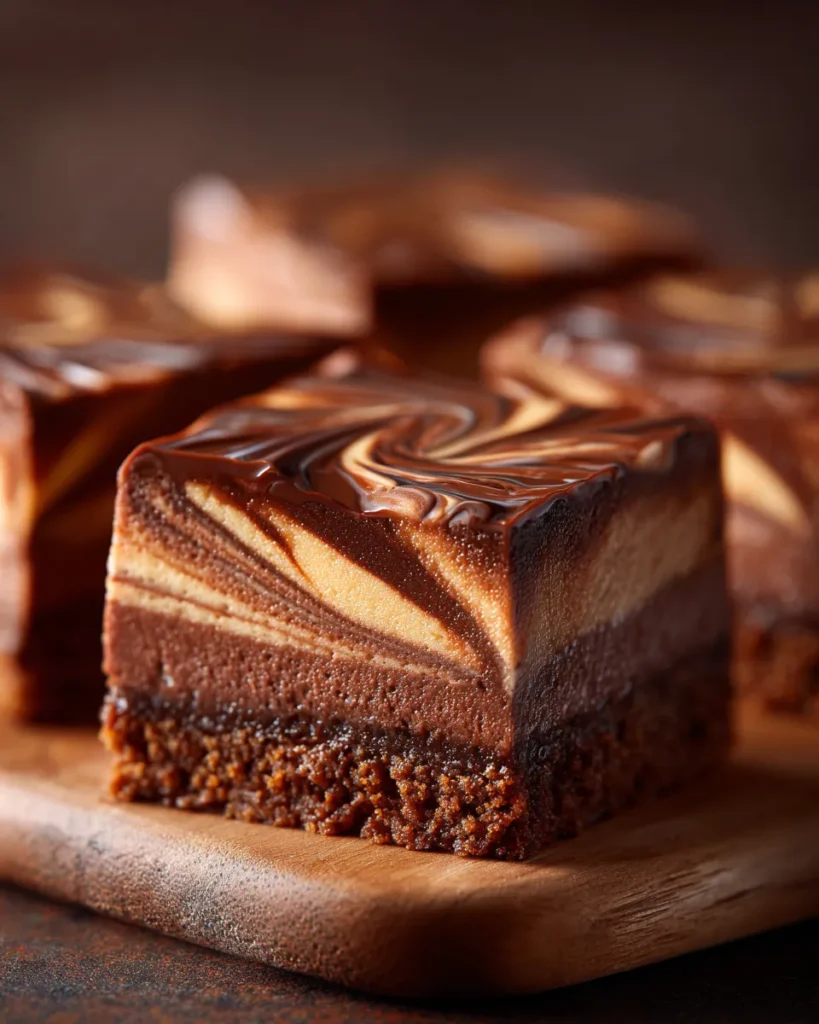
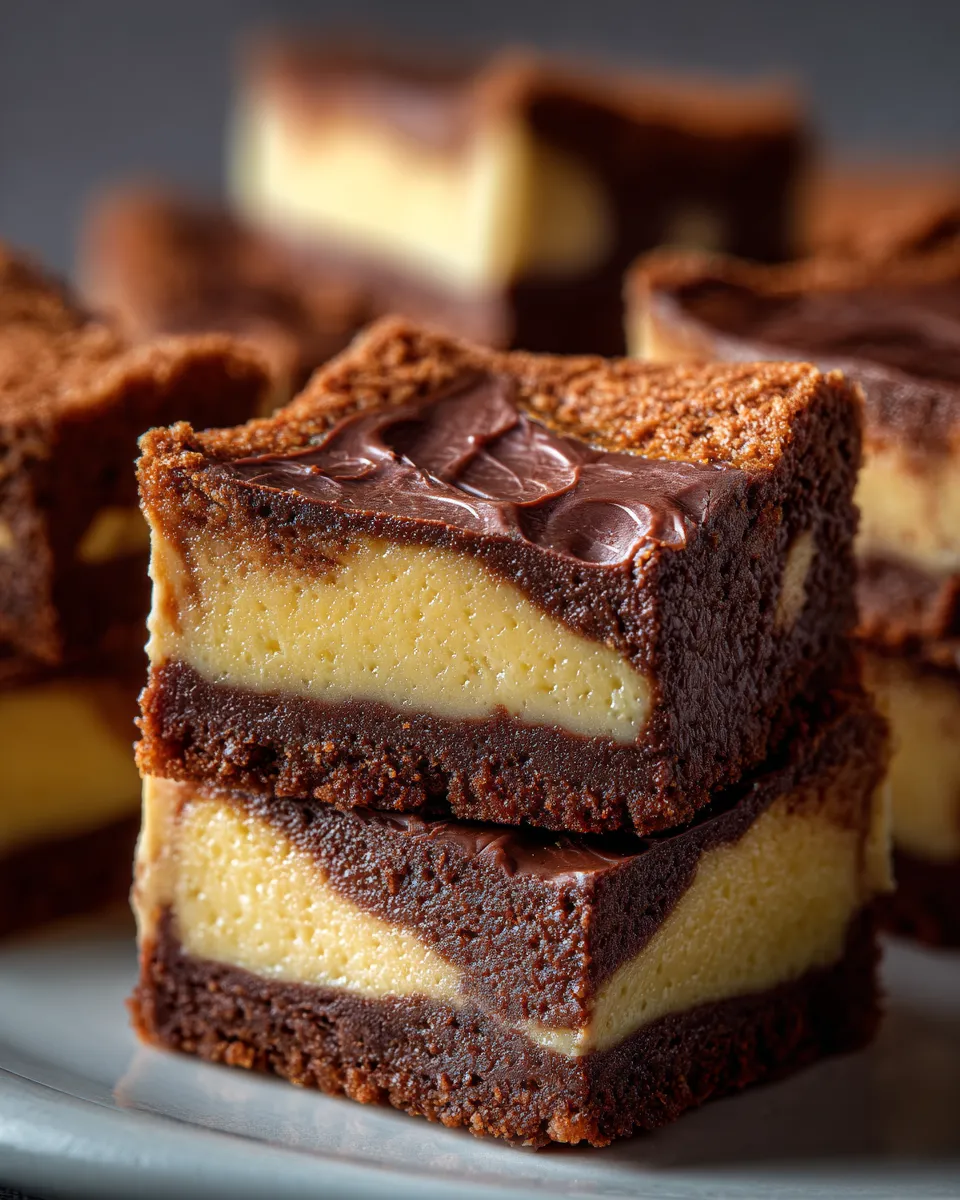
Chocolate Cheesecake Bars snagged my heart the first time I baked them. They’re the perfect mix of rich chocolate and creamy cheesecake that feels fancy but isn’t hard to make. The best part? You get a thick, fudgy crust holding all that velvety cheesecake together. I love how they’re both dessert and snack in one—grab a piece for your afternoon pick-me-up or serve them as a crowd-pleaser at parties.
My kitchen usually smells like heaven when these bars bake—kind of like a cozy bakery, minus the fancy price or long wait. If you’re craving something simple but impressive, these Chocolate Cheesecake Bars have your back. Let me walk you through exactly how I make them step-by-step.
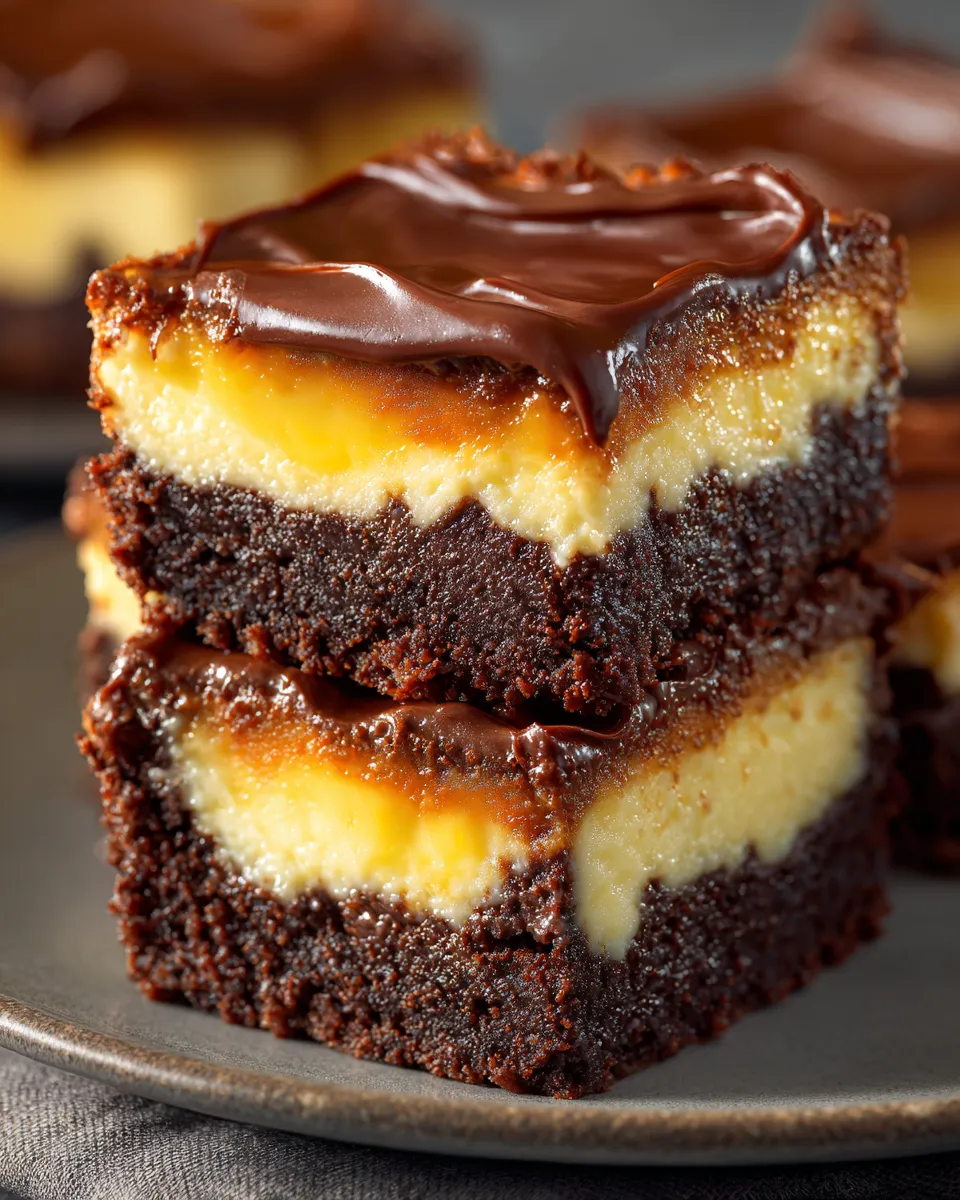
Ingredients List
Before you dive in, it’s key to have everything measured out precisely and ready to go. It’ll save you from scrambling mid-recipe and keeps things flowing smoothly.
- 1 ½ cups finely crushed chocolate wafer cookies (about 30 wafers)
- 6 tablespoons unsalted butter, melted
- 16 ounces cream cheese, softened to room temperature
- ¾ cup granulated sugar
- 2 large eggs
- ½ cup sour cream (full-fat works best for texture)
- ¼ cup unsweetened cocoa powder, sifted
- 1 teaspoon vanilla extract
- ½ cup semisweet chocolate chips (optional but highly recommended)
Make sure the cream cheese is soft — it’s easier to blend and gives you a super smooth cheesecake layer. Also, for the cocoa powder, I always sift it right before mixing to avoid any lumps. If you want, you can swap semisweet chips for dark chocolate chips or even chunks for an extra gooey touch.
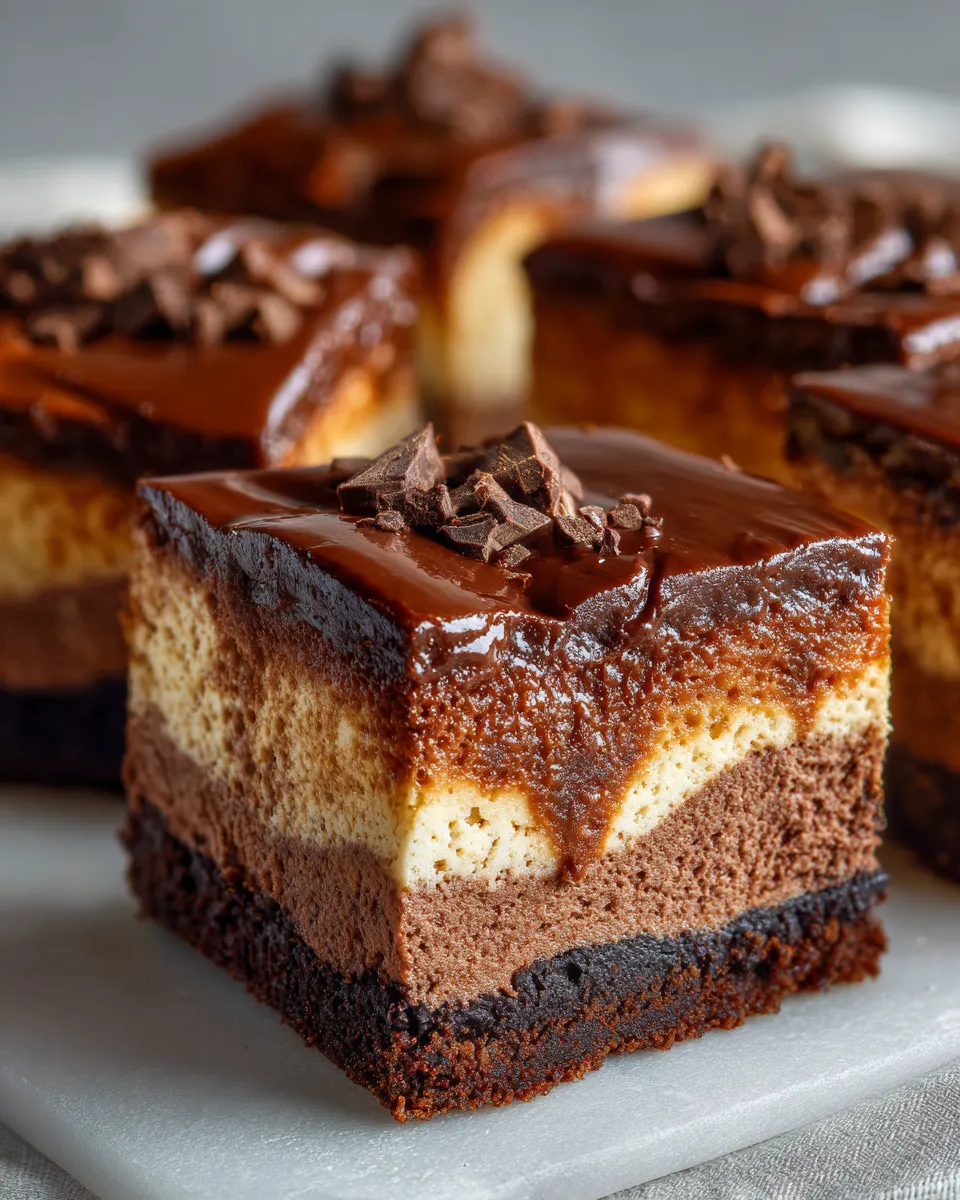
Chocolate Cheesecake Bars Recipe with 3 Simple Steps to Delight
Learn how to make rich Chocolate Cheesecake Bars in 3 easy steps that will satisfy your sweet tooth and impress everyone you share with
- Prep Time: 20 minutes
- Cook Time: 48 minutes
- Total Time: 3 hours 8 minutes
- Yield: 16 bars
- Category: Dessert
- Cuisine: American
Ingredients
Instructions
Notes
Chocolate Cheesecake Bars are a rich, creamy dessert featuring a fudgy chocolate wafer crust and a velvety cheesecake layer. Perfect for any occasion, these bars are quick to prepare and deliver a luscious chocolate and creamy cheesecake experience in every bite.
How to Prepare Chocolate Cheesecake Bars
This part is where patience pays off. Follow each step carefully for those creamy, indulgent bars everyone talks about.
- Preheat your oven to 325°F (160°C). I find this temp lets the cheesecake bake gently without cracking.
- Make the crust: Combine the crushed chocolate wafers and melted butter in a bowl. Stir until crumbs are evenly coated and look like wet sand. Press this mixture firmly into the bottom of a greased 9×9-inch pan, creating an even layer.
- Bake the crust for 8 minutes, then take it out to cool slightly. This pre-bake sets the crust and prevents it from getting soggy once you add the cheesecake filling.
- Prepare the cheesecake filling: Beat the softened cream cheese with sugar in a large bowl until smooth—about 2 minutes. Stop when you don’t see lumps anymore.
- Add eggs one at a time, mixing well after each addition. This keeps your texture silky and rich without lumps or cracks.
- Stir in sour cream, cocoa powder, and vanilla extract until just combined. Don’t overmix; stop as soon as ingredients are blended.
- If using, fold in chocolate chips gently by hand to distribute them evenly. They add little pockets of melty chocolate when baked.
- Pour the cheesecake filling over the pre-baked crust and smooth out the top with a spatula. Make sure it’s even to cook uniformly.
- Bake for 35 to 40 minutes. The edges should be set, but the center will still slightly jiggle—don’t worry about that. It’ll firm up while cooling.
- Cool bars at room temperature for an hour, then refrigerate for at least 3 hours, preferably overnight. Chilling is crucial for that dense, creamy texture you expect from cheesecake bars.
- Cut into squares with a sharp knife dipped in warm water for cleaner edges. Enjoy chilled or slightly warmed—both work beautifully.
One tip I learned the hard way: don’t skip the sour cream. It keeps the filling moist and stops it from becoming rubbery or dry. Also, that quick pre-bake crust step helps the bars hold together for neat slices instead of crumbling apart.
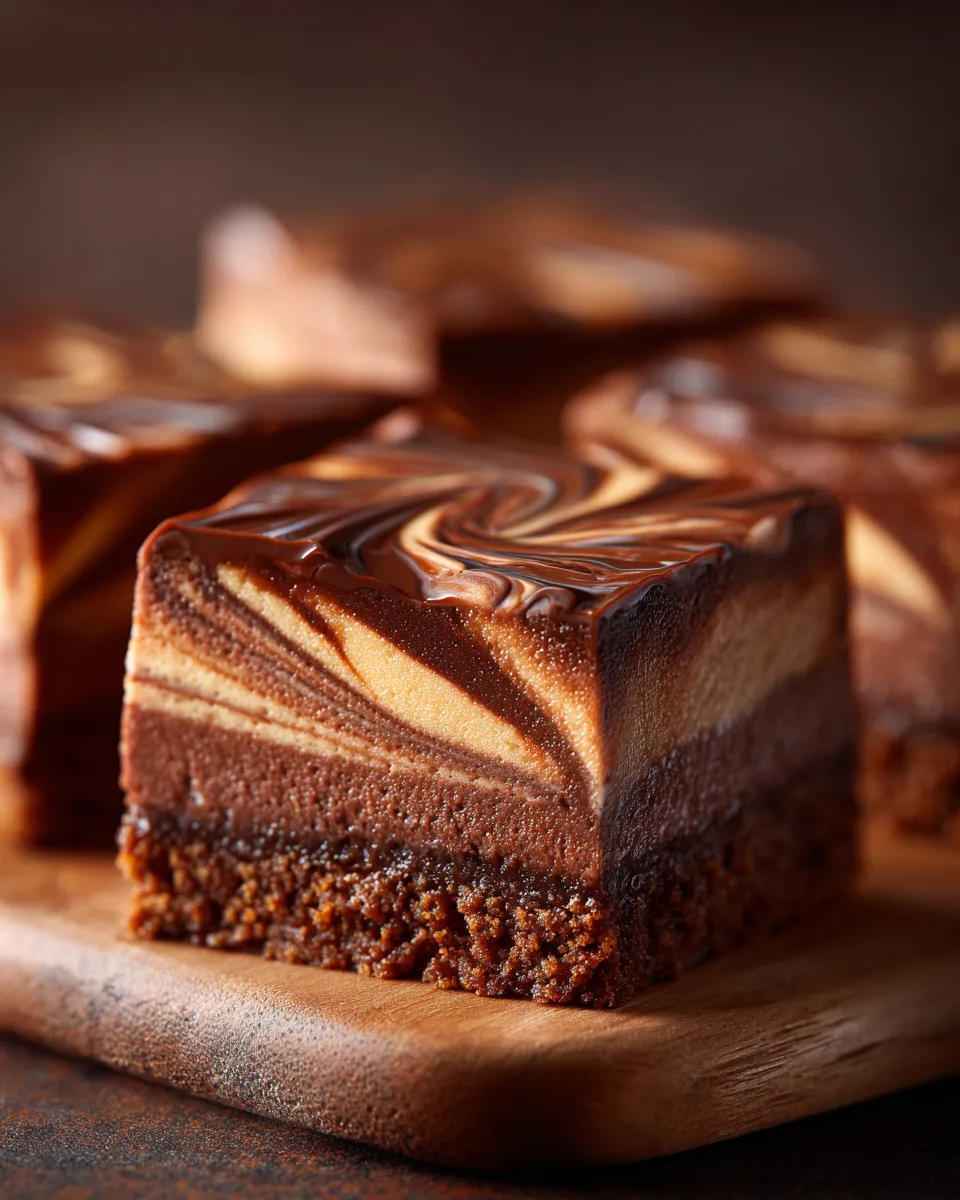
Why You’ll Love Chocolate Cheesecake Bars
- Quick and simple recipe with minimal ingredients
- Rich, creamy texture with a satisfyingly fudgy chocolate crust
- Perfect for any occasion—family dinners, potlucks, or just a treat for yourself
- Easy to customize by swapping different chocolate chips or adding nuts
- Make ahead friendly—you can prep a day before and chill until ready
- Freezer safe for longer storage without losing flavor or texture
I keep a batch in my freezer because they thaw quickly and make a fast dessert option when friends drop by unexpectedly.
Tips for Perfect Chocolate Cheesecake Bars Every Time
- Room temperature cream cheese: This is key for a smooth batter without lumps. I set mine out about an hour before I bake.
- Don’t overmix: Once you add the eggs, mix just until combined. Overbeating can add air and cause cracks.
- Use good quality cocoa powder: It makes a big difference in flavor. Dutch-processed cocoa works beautifully here.
- Cool gradually: Sudden temperature changes can cause the cheesecake to crack. Let it cool slowly at room temperature before chilling.
- Sharp knife for slicing: Warm it with hot water, wipe dry, then cut for clean edges.
Nutritional Information Disclaimer
Nutrition info varies depending on ingredient brands and substitutions. This recipe’s nutrition is not provided precisely here. For an estimate, consider inputting your exact ingredients into a trusted calculator.
Questions You Might Have About Chocolate Cheesecake Bars
Can I make these bars ahead of time?
Absolutely! These bars actually taste better after a day or two in the fridge because the flavors meld and the cheesecake firms up perfectly. Just keep them covered and chilled.
What’s the best way to store leftovers?
Store leftover bars in an airtight container in the refrigerator for up to 4 days. You can also freeze them wrapped tightly for up to 2 months. Thaw in the fridge overnight before serving.
Can I substitute the chocolate wafer crust with something else?
Yes! You can try crushed Oreos or even graham crackers. If you use graham crackers, add a tablespoon of cocoa powder to keep that chocolate flavor consistent.
Will the texture change if I use light cream cheese or low-fat sour cream?
The texture might be less creamy and a little more dense when using low-fat versions. Full-fat ingredients give you that classic, smooth cheesecake feel.
Can I add a topping to these bars?
Sure! I like a sprinkle of sea salt on top right after baking or some fresh berries to balance the richness. You could also drizzle melted chocolate or spread a thin layer of chocolate ganache.
{{image}}
Storage & Reheating Instructions for Chocolate Cheesecake Bars
After you bake and cool your bars, store them covered in the refrigerator. If you want leftovers to last longer, wrap the bars individually or in small batches with plastic wrap and aluminum foil before freezing.
When you’re ready to enjoy, thaw them in the fridge for several hours or overnight. For a quick warm-up, microwave a single bar for 10 to 15 seconds. That melts the chocolate chips slightly and softens the texture, making it taste freshly baked again.
Trust me, this little trick makes your snack feel extra cozy, especially on chilly days.